The easiest way to describe a computer problem or provide someone with instructions is to record a video of your desktop and share that file. Today we’ll show you the simplest way to record your desktop on the Mac. We’re using macOS 12.3 Monterrey, but instructions will be similar for all modern Macs.
- There is a built-in media player called QuickTime Player in macOS. Find it in your Applications folder, or use spotlight search by hitting Command + Space bar buttons and typing “quicktime“.
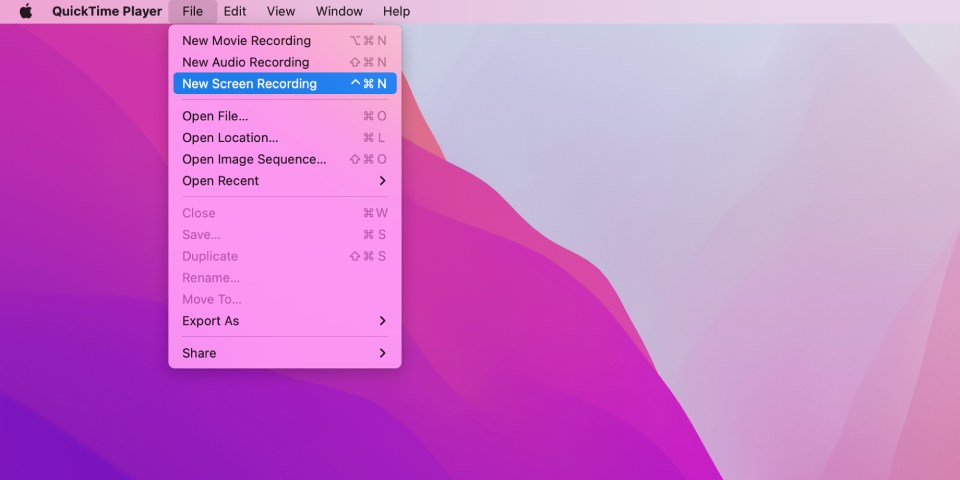
- When QuickTime Player launches, it will prompt you for a file for playback. Instead, you actually want to go to the menu bar and select File > New Screen Recording.

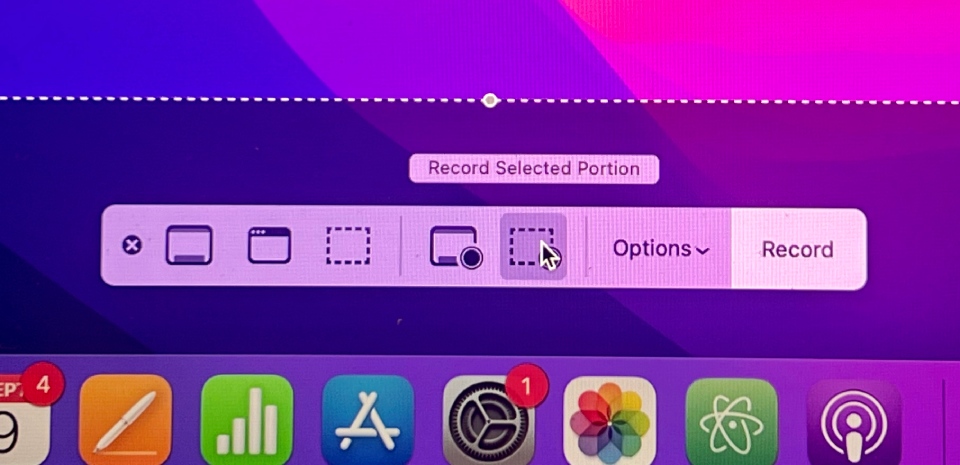
- The recording menu appears on your screen. This is where you decide between still screenshots or video recordings (note the icons with the circle), and whether it is a full screen capture or a cropped section.
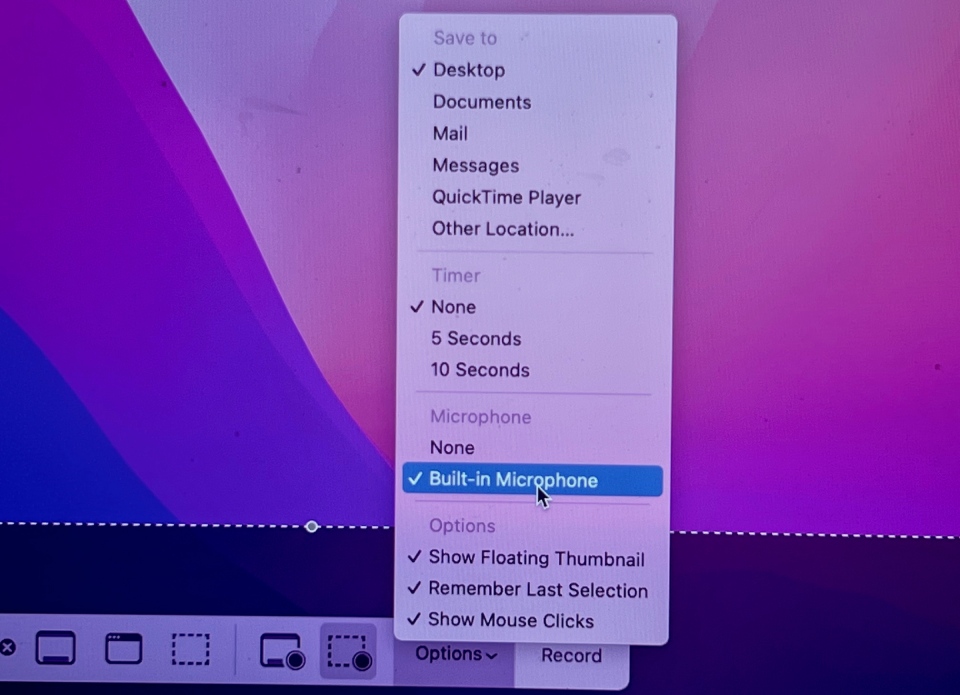
- Next, expand the Options to select the destination for your recording (Desktop, etc..) and the audio source, if you want to record yourself describing what is happening on screen.
- Hit the Record button to the right of Options and your video recording will begin!
- Once you are happy and finished with your recording, click on the Stop recording button in the top menu bar.

- Your finished video file will appear in the destination you selected. (Desktop, Documents, etc..)