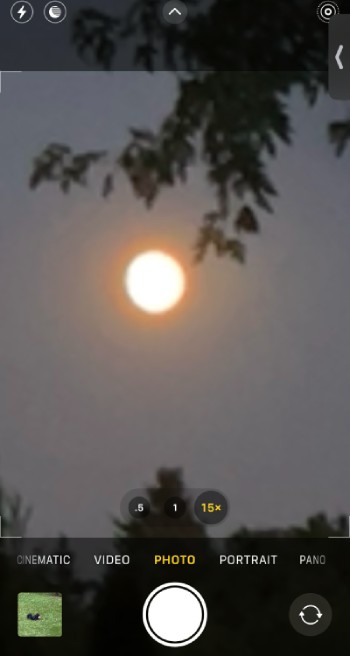
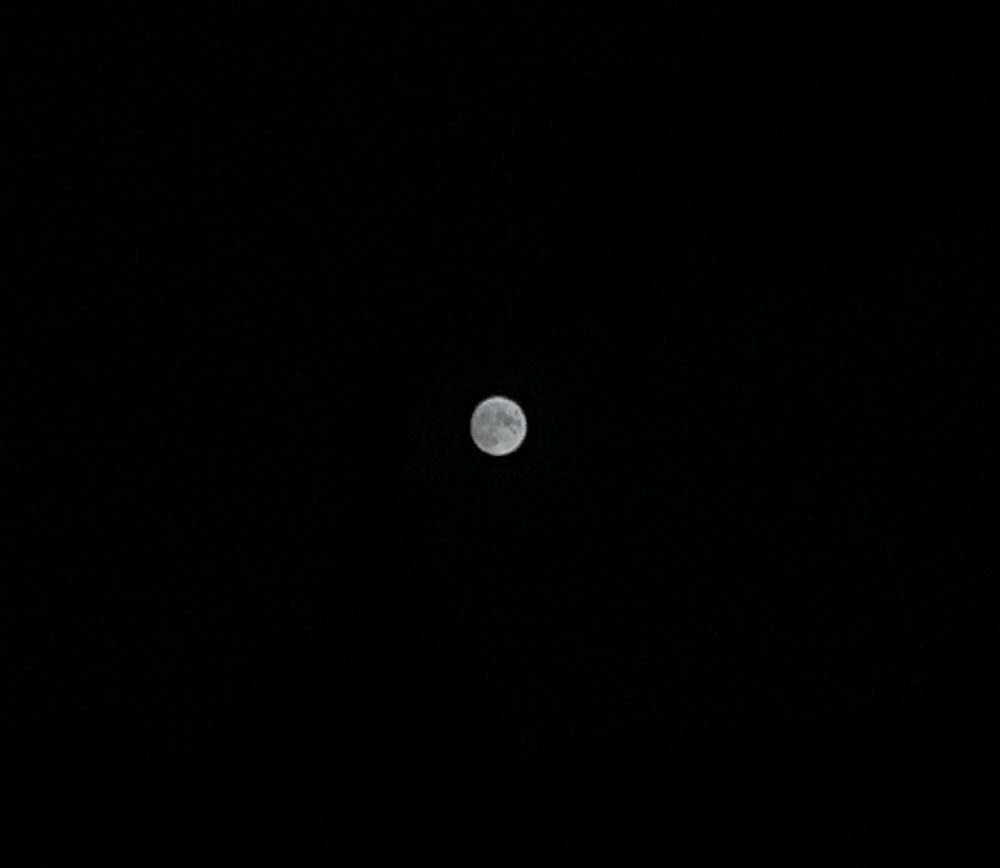
The best camera is the one you have on you! While astrophotography is challenging for the tiny optics and image sensors of mobile phones, you should still be able to capture some detail of a large and bright moon. The top image of this article was captured with an iPhone 13 Pro.
What you’ll need
- An iPhone with a telephoto lens will work best. Older high-end iPhone came with 2X telephoto lenses, and most recent models come with 3X lenses. This will give you an advantage in the amount of detail of the moon’s face. But don’t be afraid to try if your iPhone only has a regular 1X lens.
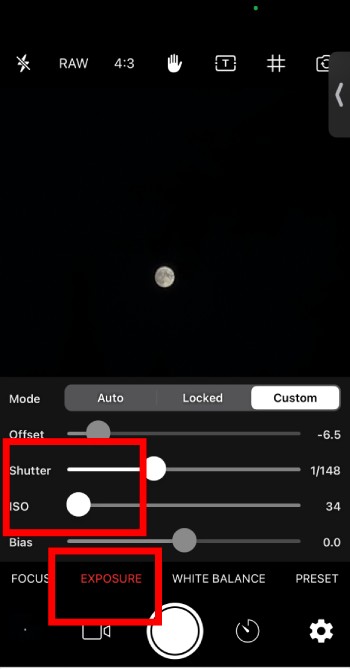
- A third party iOS camera app with granular manual controls is going to be required. We are going to need manual controls of exposure, shutter speed, and ISO. The moon shining bright against a dark sky is too much contrast for the iPhone built-in camera app to understand and focus on. We recommend the Yamera app.
- Some trial and error testing until you get the results you’re happy with.

Photo credit: mobile-pixels.com
How to get the shot
- Launch Yamera or a similar app with full manual camera controls.
- Use pinch to zoom to get in as close as possible.
- Notice the manual controls options below the preview image, select the Exposure settings.
- For photographing the moon, I noticed that tuning the ISO (sensitivity) all the way down helps bring out the detail.
- Next, start to bring down shutter speed until the moon dims enough to reveal the crater formations, but bright enough to make an interesting photo.
- When the moon is properly exposed, the autofocus should have a good lock. But in case you want to fine tune focusing, go over to the Focus tab of the Yamera app.
- If shooting handheld, hold your breath and try your best to to shake when you hit the shutter button. You may have better luck using the physical volume buttons as the shutter release than the on-screen shutter button.

Photo credit: mobile-pixels.com
Feast your eyes, and wait for the next iPhone with greater optical zoom 🙂

Using iPhone 13 Pro and Yamera app